

October
Sunday, 6 October 2013

A new illustration
Friday, 4 October 2013

The illustration is available on my Etsy shop.
Botanical illustration notebooks
Tuesday, 17 September 2013


These cute new little notebooks are now available on my Etsy shop.
September


Watercolours on HP watercolour paper


Pen outlines on HP watercolour paper
September always brings a renewed energy with it. The days
start to get shorter, the evenings are cooler and it feels like you have a
second chance to start something new with a fresh and relaxed mind. September
it’s the month for planning the rest of the year, thinking about Christmas, deciding
which new tv shows to watch, having a wardrobe makeover and a house
spring-clean. And it’s the month when you start to slow down again after the
hustle and bustle of the summer months.
The House Garden
Friday, 30 August 2013

Just finished this House Garden illustration inspired by one of my mum's kitchen towel from her dowry. I decided to use Arches hot pressed paper, and although is not my favourite brand, I think it was perfect for this subject. And I'm already planning to make some more on a similar style.

The original painting will be up on sale on my Esty shop sometime this weekend.
Happy weekend to all!
Moleskine Reloaded
Tuesday, 23 July 2013
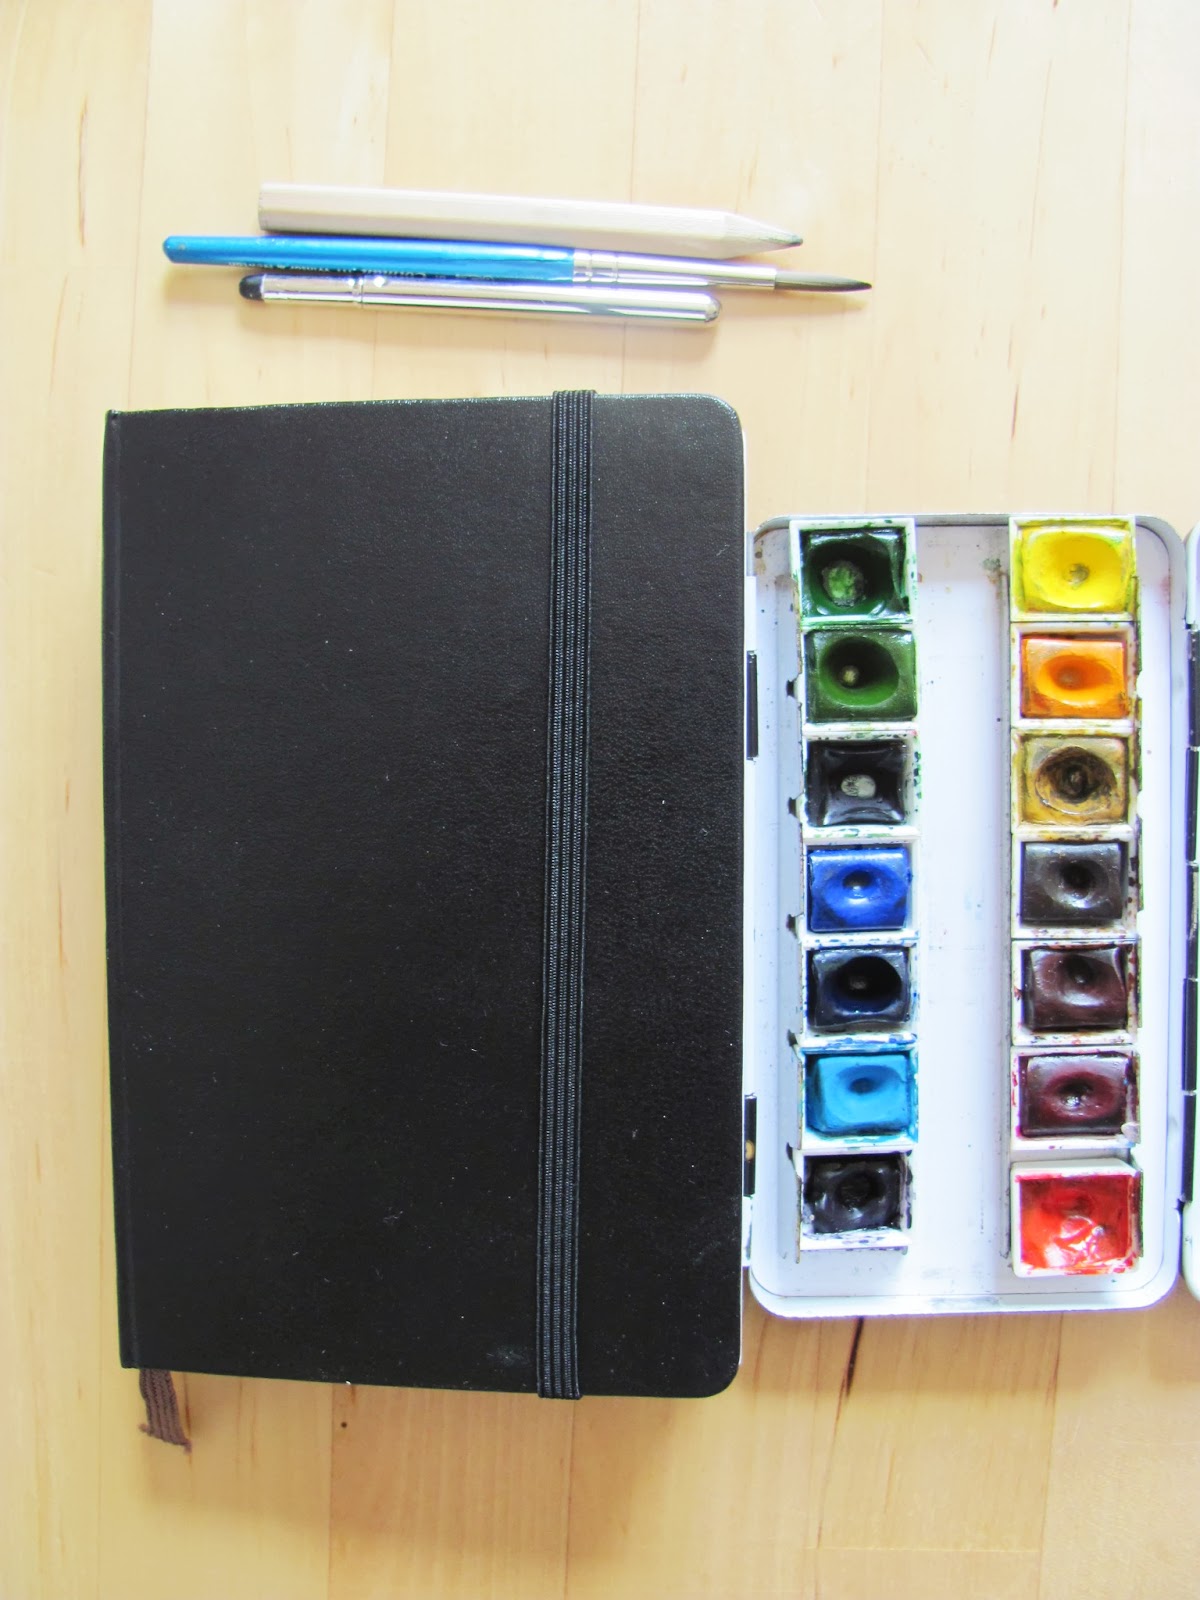
I can honestly say that I’m pretty obsessed with sketchbooks. As it
stands I have about 8 of them going at the same time, and as I said before this
year (or was last year?!?), my resolution is to complete all of them before
buying a new one. But that has proved to be very hard, both the not-buying part
and the completing-them-all part. So to satisfy my craving, without
compromising my intentions, I decided to make a new sketchbook using an old
moleskine diary.
I have made sketchbooks before, and I love how they look once they are
finished. And I noticed I have different feelings when using a homemade item, than
when I use something I bought brand new.
I don’t feel the pressure of having to make things look perfect, to
follow a certain style, to make no mistakes. If I have made the item once, I
can sure make it again and that somehow gives me the freedom to experiment a
bit more and put the pressure off. And I believe this is the reason why my
homemade sketchbooks look nicer and more cohesive than the once I normally buy.
Another good reason for making my own sketchbook is that I can choose
the style, the format and the paper that goes in it. To be fair, I have loved
the moleskine watercolour books since they came out, and that is what I use the
most. However, the sizes available are not my ideal choice.
I love the pocket size of the moleskine, as it goes well with my pocket
size watercolour kit, which is just perfect for outdoor and travel sketching.
But the landscape format sometimes has proven not to be ideal. I feel like it
is too narrow for some subjects, and to make up for it I normally carry some
spare watercolour sheets in a different size.
To cut this short, I used an old moleskine daily planner and re-filled it with watercolour paper (I used Fabriano Accademia, natural grain, 240g/m2 //
113lbs), giving me a 48-pages pocket size sketchbook in a portrait format. I
have followed the very detailed instructions found on the Trumpetvine Travels
website. They are absolutely well written and so easy to follow.


The sketchbook came out pretty well; it is not perfect, I didn’t trim
the edges of the pages, so they don’t align perfectly and, although I rounded
the edges to match the moleskine cover, somehow I managed to trim some of the
side edges of each sheet as well (I’m still mastering the art of corners rounding!).
But I absolutely love the overall look. I promised myself not to start
using it until I finish at least my two moleskine sketchbooks, which fortunately
have only few pages to go.

Shop news :: As I tend to get carried away with repurposing old moleskine diaries, the above pocket size moleskine reloaded is now available to buy on my Etsy shop (click here).
Cathy Johnson’s Mini-class // Quick Sketching 1 - Lesson 4 and wrap up
Tuesday, 16 July 2013


The last lesson focused on tonal values, big shapes and shadows to just give a
quick impression of your subject, capturing the atmosphere without going into
too much detail. And this is something I have been lacking.
Recognising tonal values has always been difficult for me. It is easier
if I’m looking at a black and white picture, but when working on the spot,
recognising the value of the colours has proven a real challenge. I can narrow
my eyes trying to see the simple value pattern, but it doesn’t always work,
especially if I’m looking at a landscape and there are a lot of colours. Doing
a quick tonal sketch and adding a value scale can help, but really doesn’t
solve my problem; I guess practice will improve my observational skills. In the
meantime, I had the chance to test different ways to create tones using
different tools and techniques.


My favourite so far is using a water-soluble pen or pencil and a water brush to dissolve the colour and create a shaded wash. Even the most boring drawing can become interesting when adding tones.
Capturing the direction of the light by adding shadows it has also proven to change the mood of a drawing. And one of the best tips I must remember is to always leave some white paper for the lightest lights.

So this is the end of the first of the Cathy Johnson’s online mini-classes!
The overall course was good value for money, probably a bit too basic for me,
but I am one of those people that forget things easily, so it was a good way to
return to the basics and take on board all the tips given in the lessons.
I put together a summary list of all the tips that I should remember
when doing a quick sketch, but also of some of the things that I discovered
about my tools.
Favourite tools for quick sketching //
- Faber-castell PITT artist pen sanguine – brush size (waterproof) + watercolours
- Staedler fine liner 0.3 black (waterproof)
- Derwent inktense peacock blue (watersoluble)
- TOMBOW ABT Redwood 899 (watersoluble) brush and fine point + watercolours (THE BEST)
- Eraser Faber-Castell
- Consider the time available when starting a sketch - start with the big shapes and add details later on as you have time
- Consider gesture sketching when trying to capture movement
- See objects as basic shapes
- Use thumbnail sketches
- Develop your own visual symbols
- Identify tonal values by squinting your eyes
- Choose/identify light direction
- Leave some white paper for lighter lights
In the meantime you can have a look at all my sketches from the previous
lessons here.
Cathy Johnson’s Mini-class // Quick Sketching 1 - Lesson 3
Friday, 10 May 2013


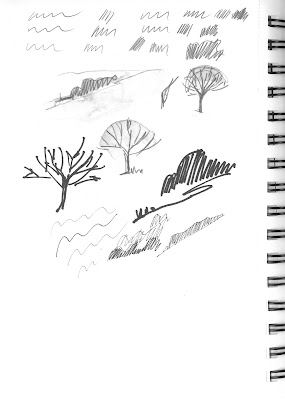


It took a bit more time to go through lesson 3, compared to the previous
lessons.
The first part focused on sketching from memory, which can be a good exercise
as it makes you look harder at your subject and with practice you can learn
what to look for, what is essential when trying to do a quick sketch. I must
confess I didn’t practice enough on this subject as I was more interested on
what was following, meaning thumbnail sketches, visual symbols and big shapes.
I think these last three points are the key to quick sketching, and also the
points where I lack confidence. I’ve always used thumbnail sketches as a
preparatory exercise before tackling a painting. But never realised they can
actually be quick sketches on their own. I also learned that it’s a very good exercise
copying visual symbols from somebody else’s work. I’ve been recently obsessed
with John Lidzey sketches, and looking at the way he drew things, and copying
it, made it easier for me to reach a similar effect in my sketches.
Working from a big shapes and adding more details later as time allows has
also proven to be a very good tip. When I’m out sketching I don’t always know
how much time I’m going to have. Most of the time a big shape is good enough to
suggest a view or a movement.
The winter robins demo was an enjoyable exercise, and adding colours to
it was for me the most rewarding part!
Sketches from Lesson 1 and 2 can be found here.
More info about Cathy Johnson’s online classes can be found here.
A few holiday's sketches
Thursday, 9 May 2013

Rimessa barche - fine lungomare lato Corace

Quadrivio Nalini

Golfo di Squillace

Tetti - Catanzaro Lido zona Corace
Because we went visiting my family, we had baby sitters for my little Miss O basically all day long and that gave me the chance to go out by myself and do some en-plain-air sketching. I had planned to bring with me an A4 Moleskine watercolour pad I bought a few years ago with the plan to fill it in with sketches of my hometown. However, the pressure I felt when thinking about the size and the commitment required made me decided to bring my usual large moleskine pad. It was a good choice, but now I feel I've gained enough confidence to bring my larger pad next time. I was hoping to be able to draw a bit more, but feel quite happy with the overall results. All drawings and watercolours were done on location, with only a few touches added later on.
Cathy Johnson’s Mini-class // Quick Sketching 1 - Lesson 2
Monday, 22 April 2013


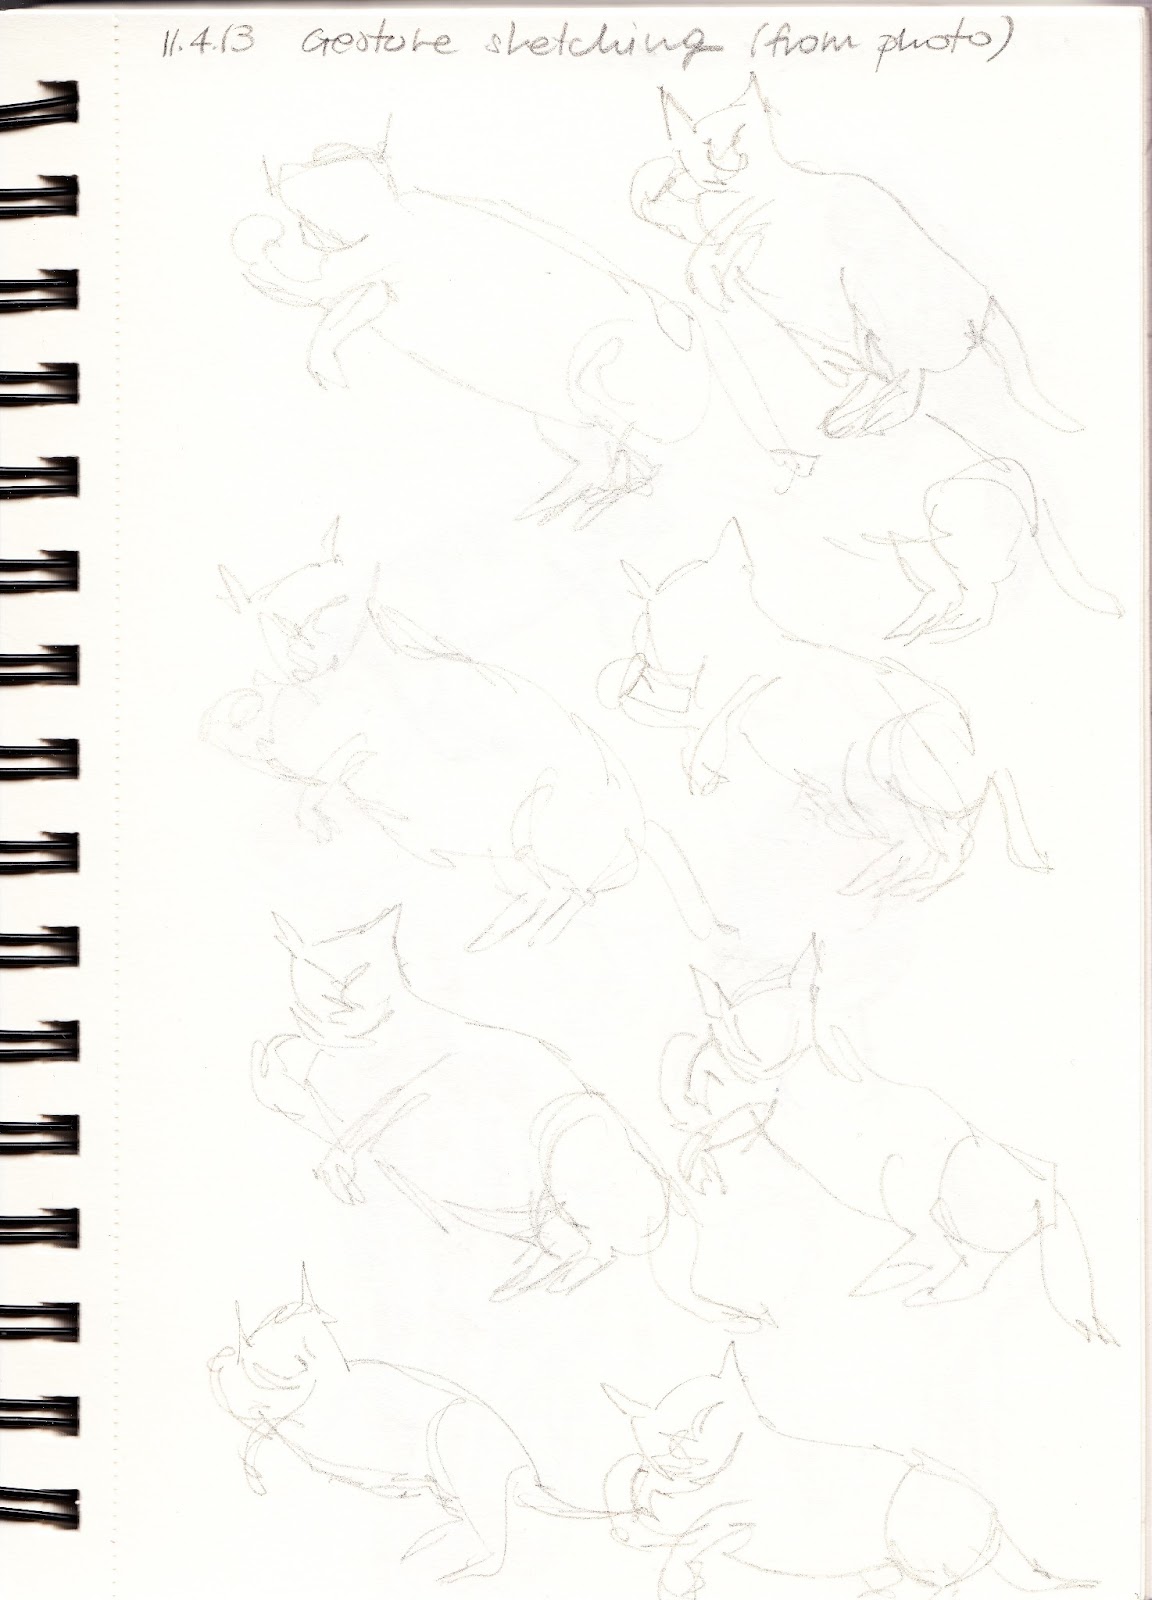
Can't really see much here!


Lesson 2 has been all about sketching a moving object and capturing the
essence of it (it’s called gesture sketching, something I didn’t know). I was a
bit afraid to start with the exercises. People and animals are not really my favourite
subjects, let alone if they are moving. But after watching some of the demo
videos included in the class, I geared myself up to the challenge and with some
courage I gave it a go.
Drawing using a kitchen timer was one of the many tips given in the lesson.
I have done this type of exercise before, but I had forgotten how useful it is
to know how much time you have before you start drawing. It helps to decide if
focusing on the big picture or looking at details. And this is a problem I
always have. I tend to focus on the details when I sketch, and that sometimes
overwhelms me, especially when I suddenly realise that I don’t have enough time
to draw everything (which happens very often if you try to sketch when out and
about with a 16 month old!).
Seeing an object as a number of basic shapes (circles, triangles, etc.) also
helped quite a lot, especially when drawing animals. I had learned this
technique at one of my botanical art classes, but never really put it into use.
The results are far from great, but I’m hoping that with practice, and a
lot of it, my drawing skills will improve.
My sketches from Lesson 1 can be found here.
More info about Cathy Johnson’s online classes can be found here.
Subscribe to:
Posts (Atom)
